Assessing the Damage: Can You DIY This?
A flat lawn tractor tire is frustrating, but before calling a professional, assess the damage. A small puncture? Probably fixable. A large gash, mangled sidewall, or severely worn tread? Replacement is likely necessary. Save yourself time and frustration by accurately evaluating the damage. First, carefully examine the tire for any embedded objects like nails or wire. Remember, safety glasses are essential for this process. For more complex repairs, see this helpful guide: Lawn Tractor Tire Change.
Gather Your Tools: Your Repair Arsenal
Before you begin, gather these essential tools and materials. Many are likely already in your garage!
| Item | Description |
|---|---|
| Tire Repair Kit | Includes plugs, glue, and a cleaning tool for the puncture. |
| Wrench (correct size) | To remove and tighten the wheel nuts. |
| Jack or Jack Stands | To safely lift and support the lawn tractor. Safety is paramount! |
| Tire Irons | Metal tools to help maneuver the tire onto and off the rim. Highly recommended for first-timers. |
| Work Gloves | Protect your hands. |
| Safety Glasses | Protect your eyes from debris and escaping air. Crucial for safety! |
| Air Compressor | To re-inflate the tire after repair. |
| Tire Pressure Gauge | To ensure correct inflation. The correct pressure is found on the tire sidewall. |
| Wire Brush (optional) | To clean the puncture site thoroughly. |
Step-by-Step Repair: Getting Back to Mowing
Follow these steps for a successful repair. Remember, patience is key!
Prepare Your Workspace: Choose a level, stable surface. Always engage the parking brake on your lawn tractor before working on it. Safety first!
Remove the Wheel: Use your wrench to loosen the wheel nuts, then completely remove them. Carefully lower the wheel to the ground.
Locate the Puncture: Inspect the tire for the puncture source. It's often a nail, thorn, or piece of wire.
Remove the Object: Use pliers to carefully remove any embedded object, ensuring complete removal.
Clean the Puncture: Use the reamer tool from your repair kit to clean the puncture site. A clean hole ensures a strong seal.
Apply the Patch: Apply sealant or glue (following the kit's instructions) to the plug and carefully insert it into the hole.
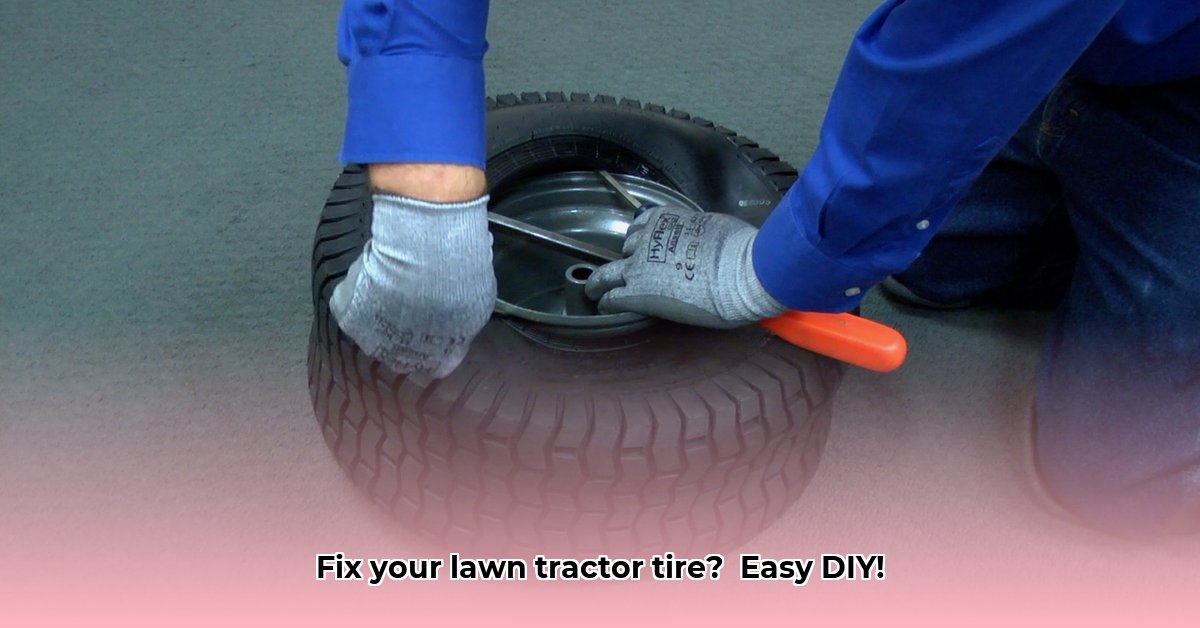
Reinstall the Tire: Use tire irons to carefully work the tire back onto the rim, making sure the tire bead is seated evenly. This requires patience and some effort.
Inflate and Check: Use your air compressor to inflate the tire to the pressure indicated on the sidewall. Use the pressure gauge to verify the correct pressure. Check for leaks with soapy water.
Troubleshooting Common Issues: Solutions to Problems
Tire Won't Seat: If the tire bead is difficult to mount, ensure proper positioning and carefully use the tire irons. It might require considerable effort.
Persistent Leak: If the tire still leaks after patching, check the seal around the plug. You might need to apply more sealant or consider a second plug.
Wheel Nut Woes: If the wheel nuts are stuck, use a penetrating lubricant (e.g., WD-40) before trying to remove them.
Safety First: Prioritize Your Well-being
Always wear safety glasses and gloves. Be cautious when using compressed air – it's powerful! Never work under a raised lawn tractor without secure jack stands. Your safety is paramount.
When to Call a Professional: Know Your Limits
Call a professional if the damage is extensive, you lack the tools, you feel uncomfortable, or the problem isn't a simple puncture. Your safety and the lawn tractor's functionality are priorities.
This guide simplifies lawn tractor tire repair. With patience and the right tools, you can save money and have the satisfaction of a job well done!